
Create a Cognito Identity Pool
Now that we have deployed our backend API; we almost have all the pieces we need for our backend. We have the User Pool that is going to store all of our users and help sign in and sign them up. We also have an S3 bucket that we will use to help our users upload files as attachments for their notes. The final piece that ties all these services together in a secure way is called Amazon Cognito Federated Identities.
Amazon Cognito Federated Identities enables developers to create unique identities for your users and authenticate them with federated identity providers. With a federated identity, you can obtain temporary, limited-privilege AWS credentials to securely access other AWS services such as Amazon DynamoDB, Amazon S3, and Amazon API Gateway.
In this chapter, we are going to create a federated Cognito Identity Pool. We will be using our User Pool as the identity provider. We could also use Facebook, Google, or our own custom identity provider. Once a user is authenticated via our User Pool, the Identity Pool will attach an IAM Role to the user. We will define a policy for this IAM Role to grant access to the S3 bucket and our API. This is the Amazon way of securing your resources.
Let’s get started.
Create Pool
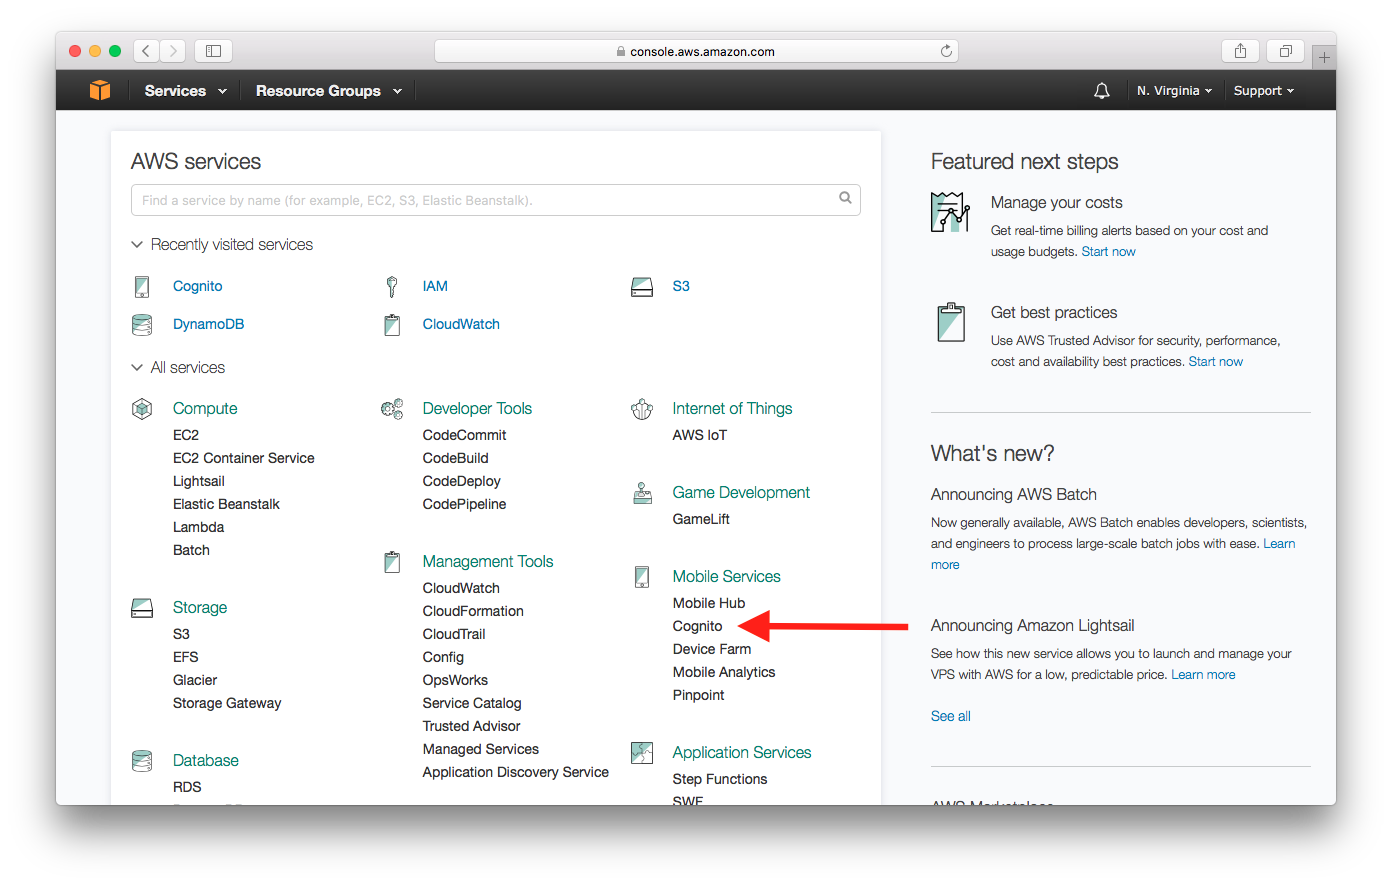
From your AWS Console and select Cognito from the list of services.
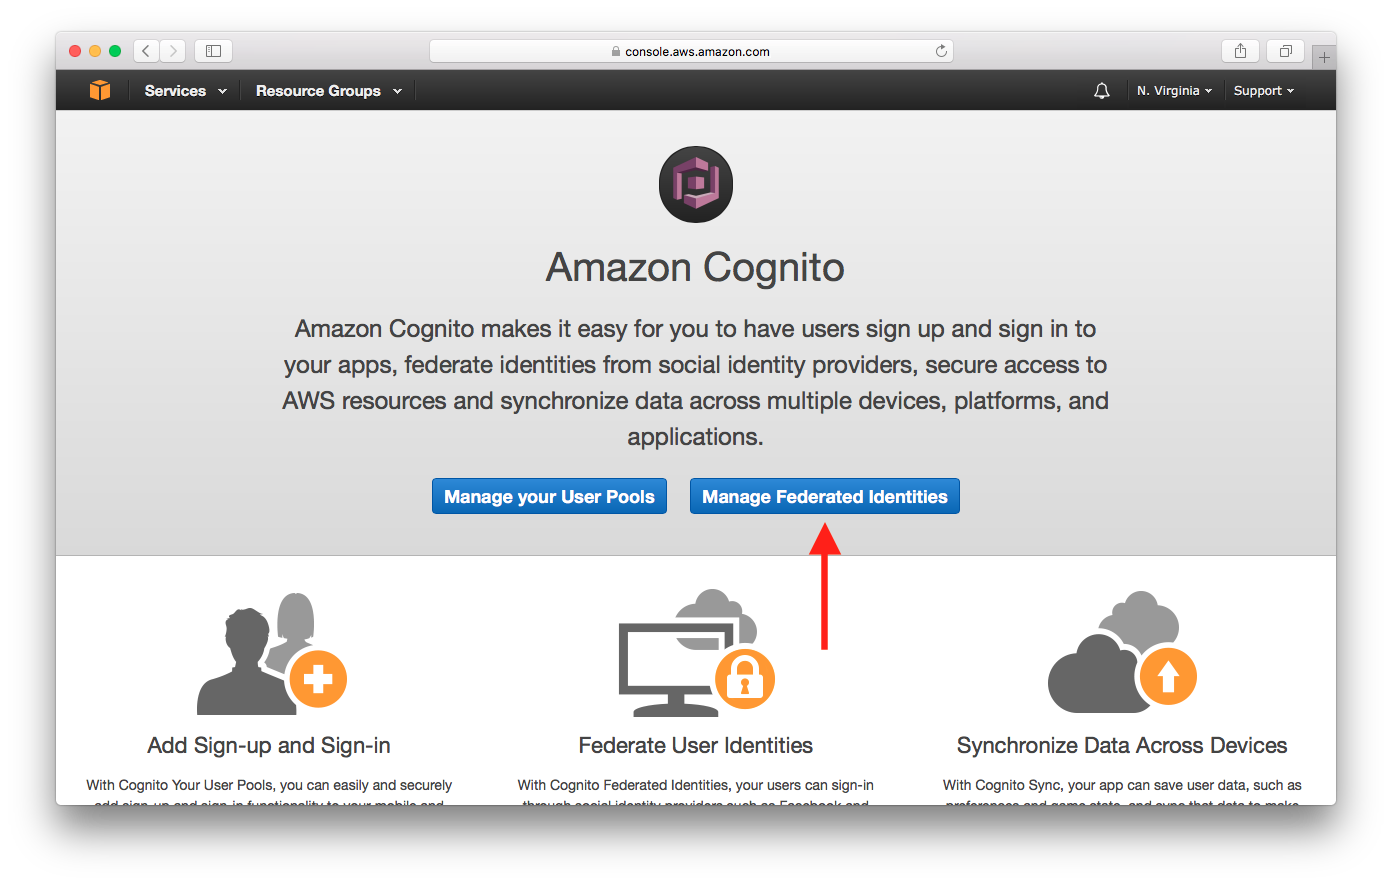
Select Manage Federated Identities.
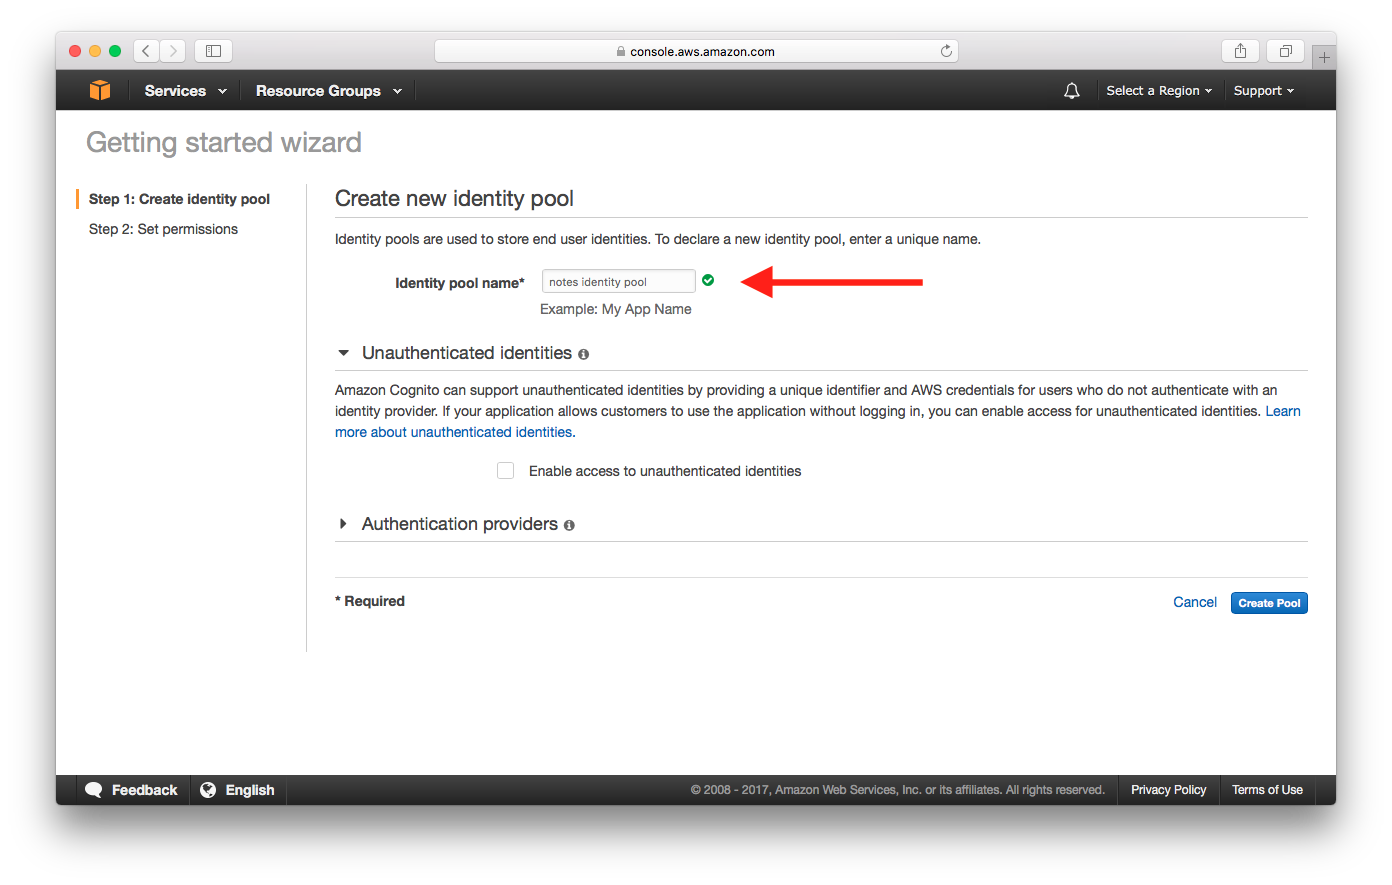
Enter an Identity pool name. If you have any existing Identity Pools, you’ll need to click the Create new identity pool button.
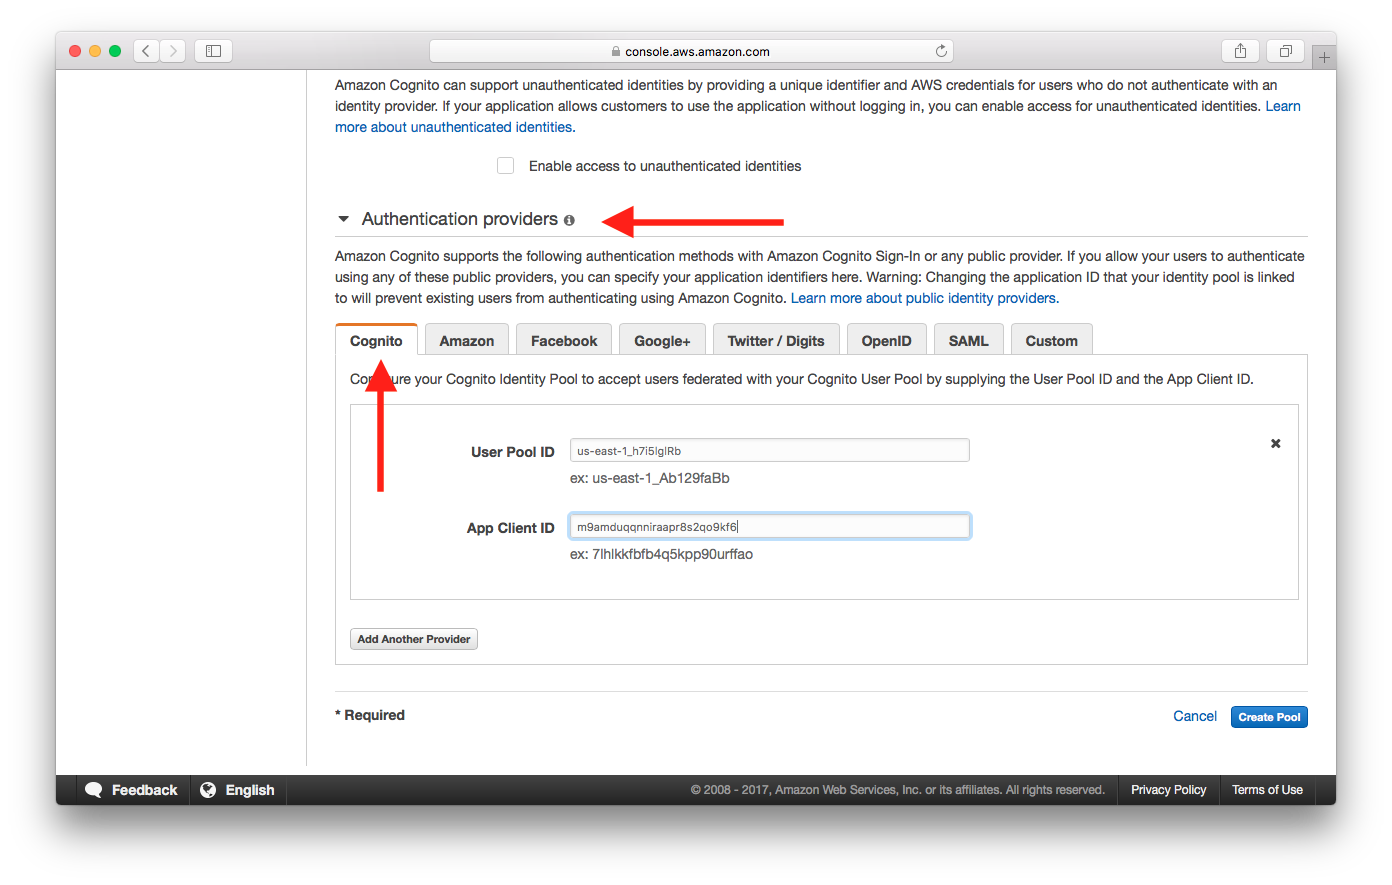
Select Authentication providers. Under Cognito tab, enter User Pool ID and App Client ID of the User Pool created in the Create a Cognito user pool chapter. Select Create Pool.
Now we need to specify what AWS resources are accessible for users with temporary credentials obtained from the Cognito Identity Pool.
Select View Details. Two Role Summary sections are expanded. The top section summarizes the permission policy for authenticated users, and the bottom section summarizes that for unauthenticated users.
Select View Policy Document in the top section. Then select Edit.
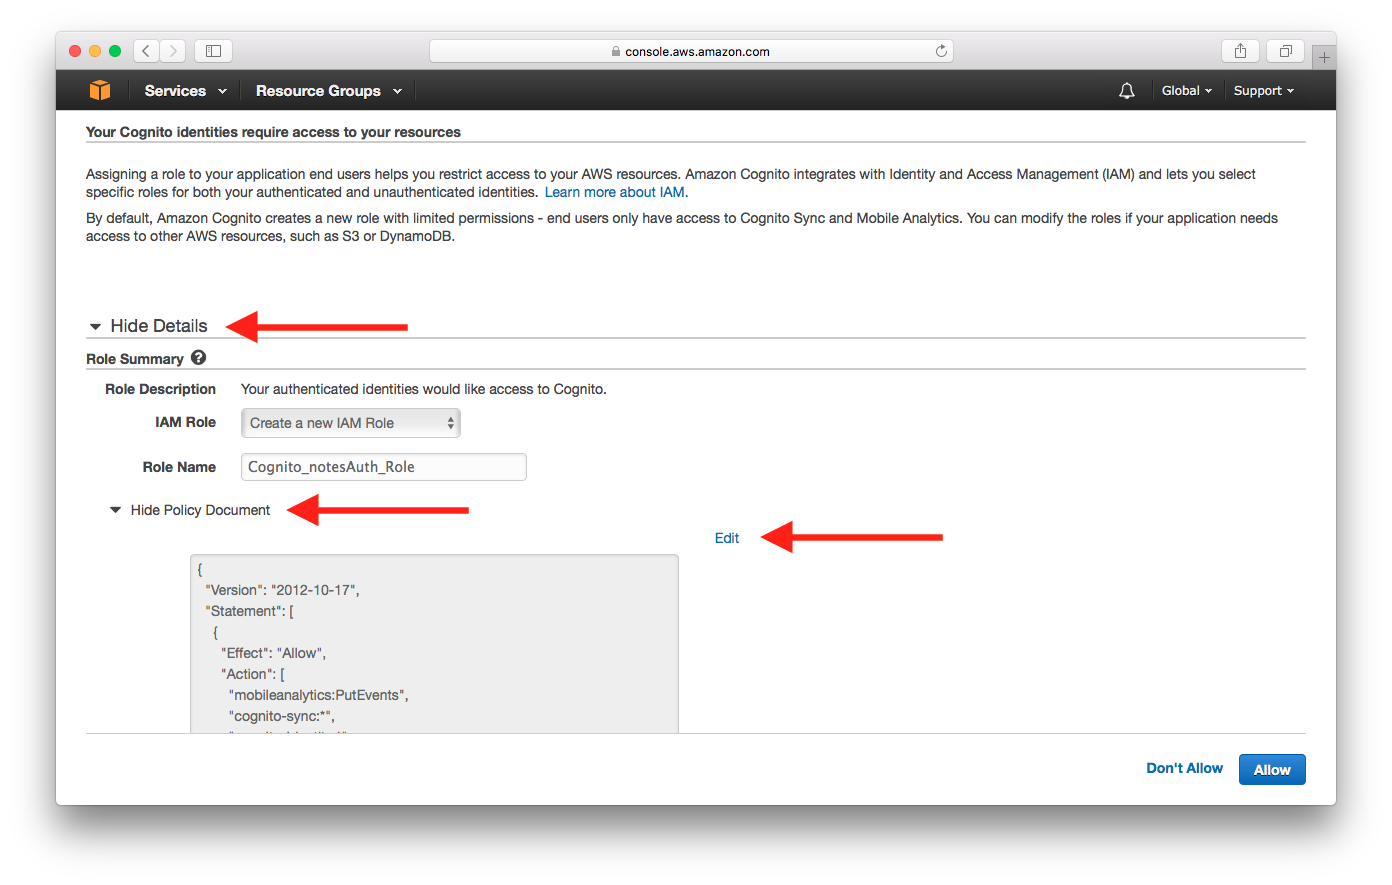
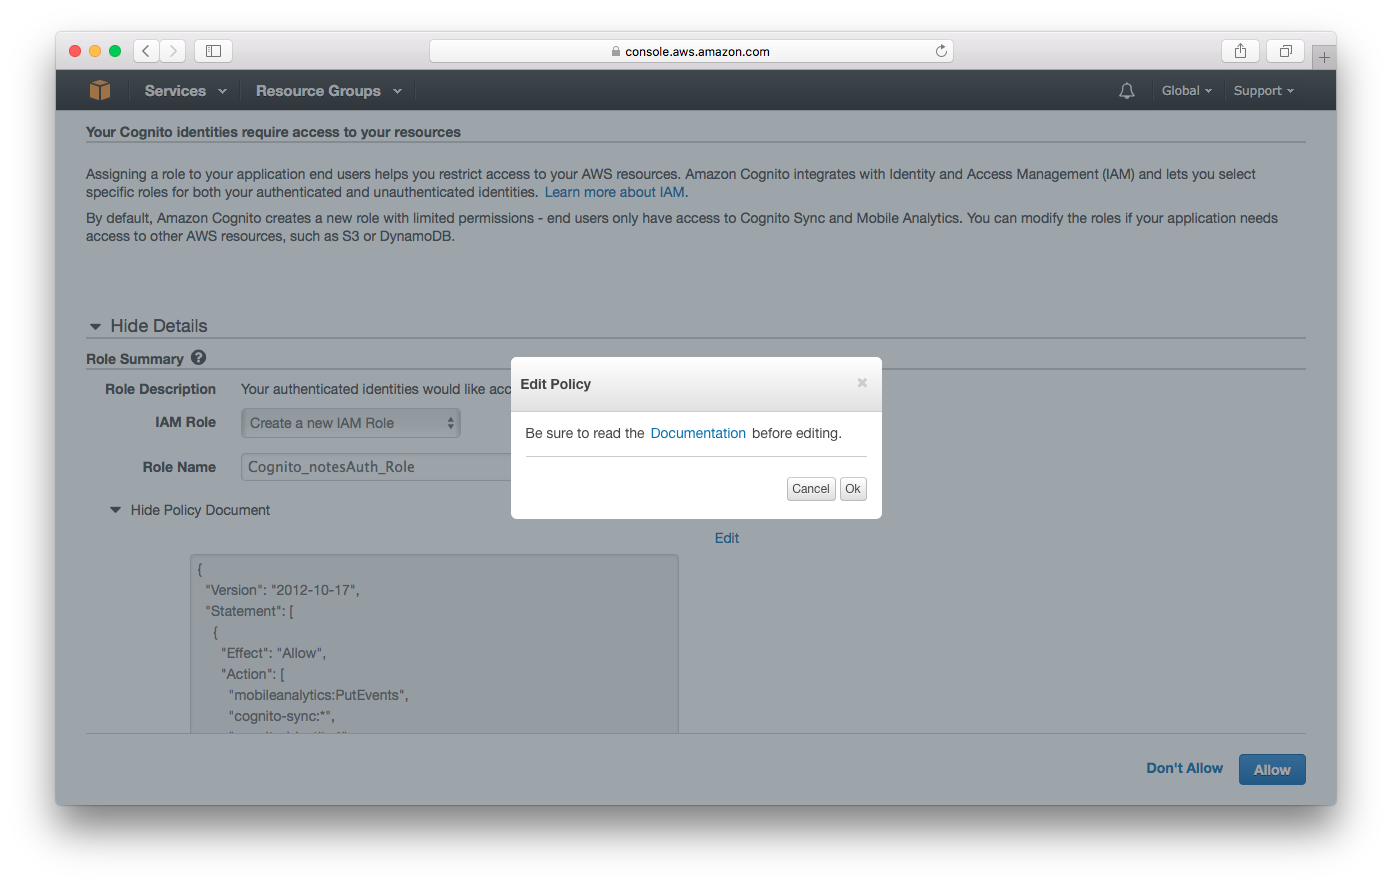
It will warn you to read the documentation. Select Ok to edit.
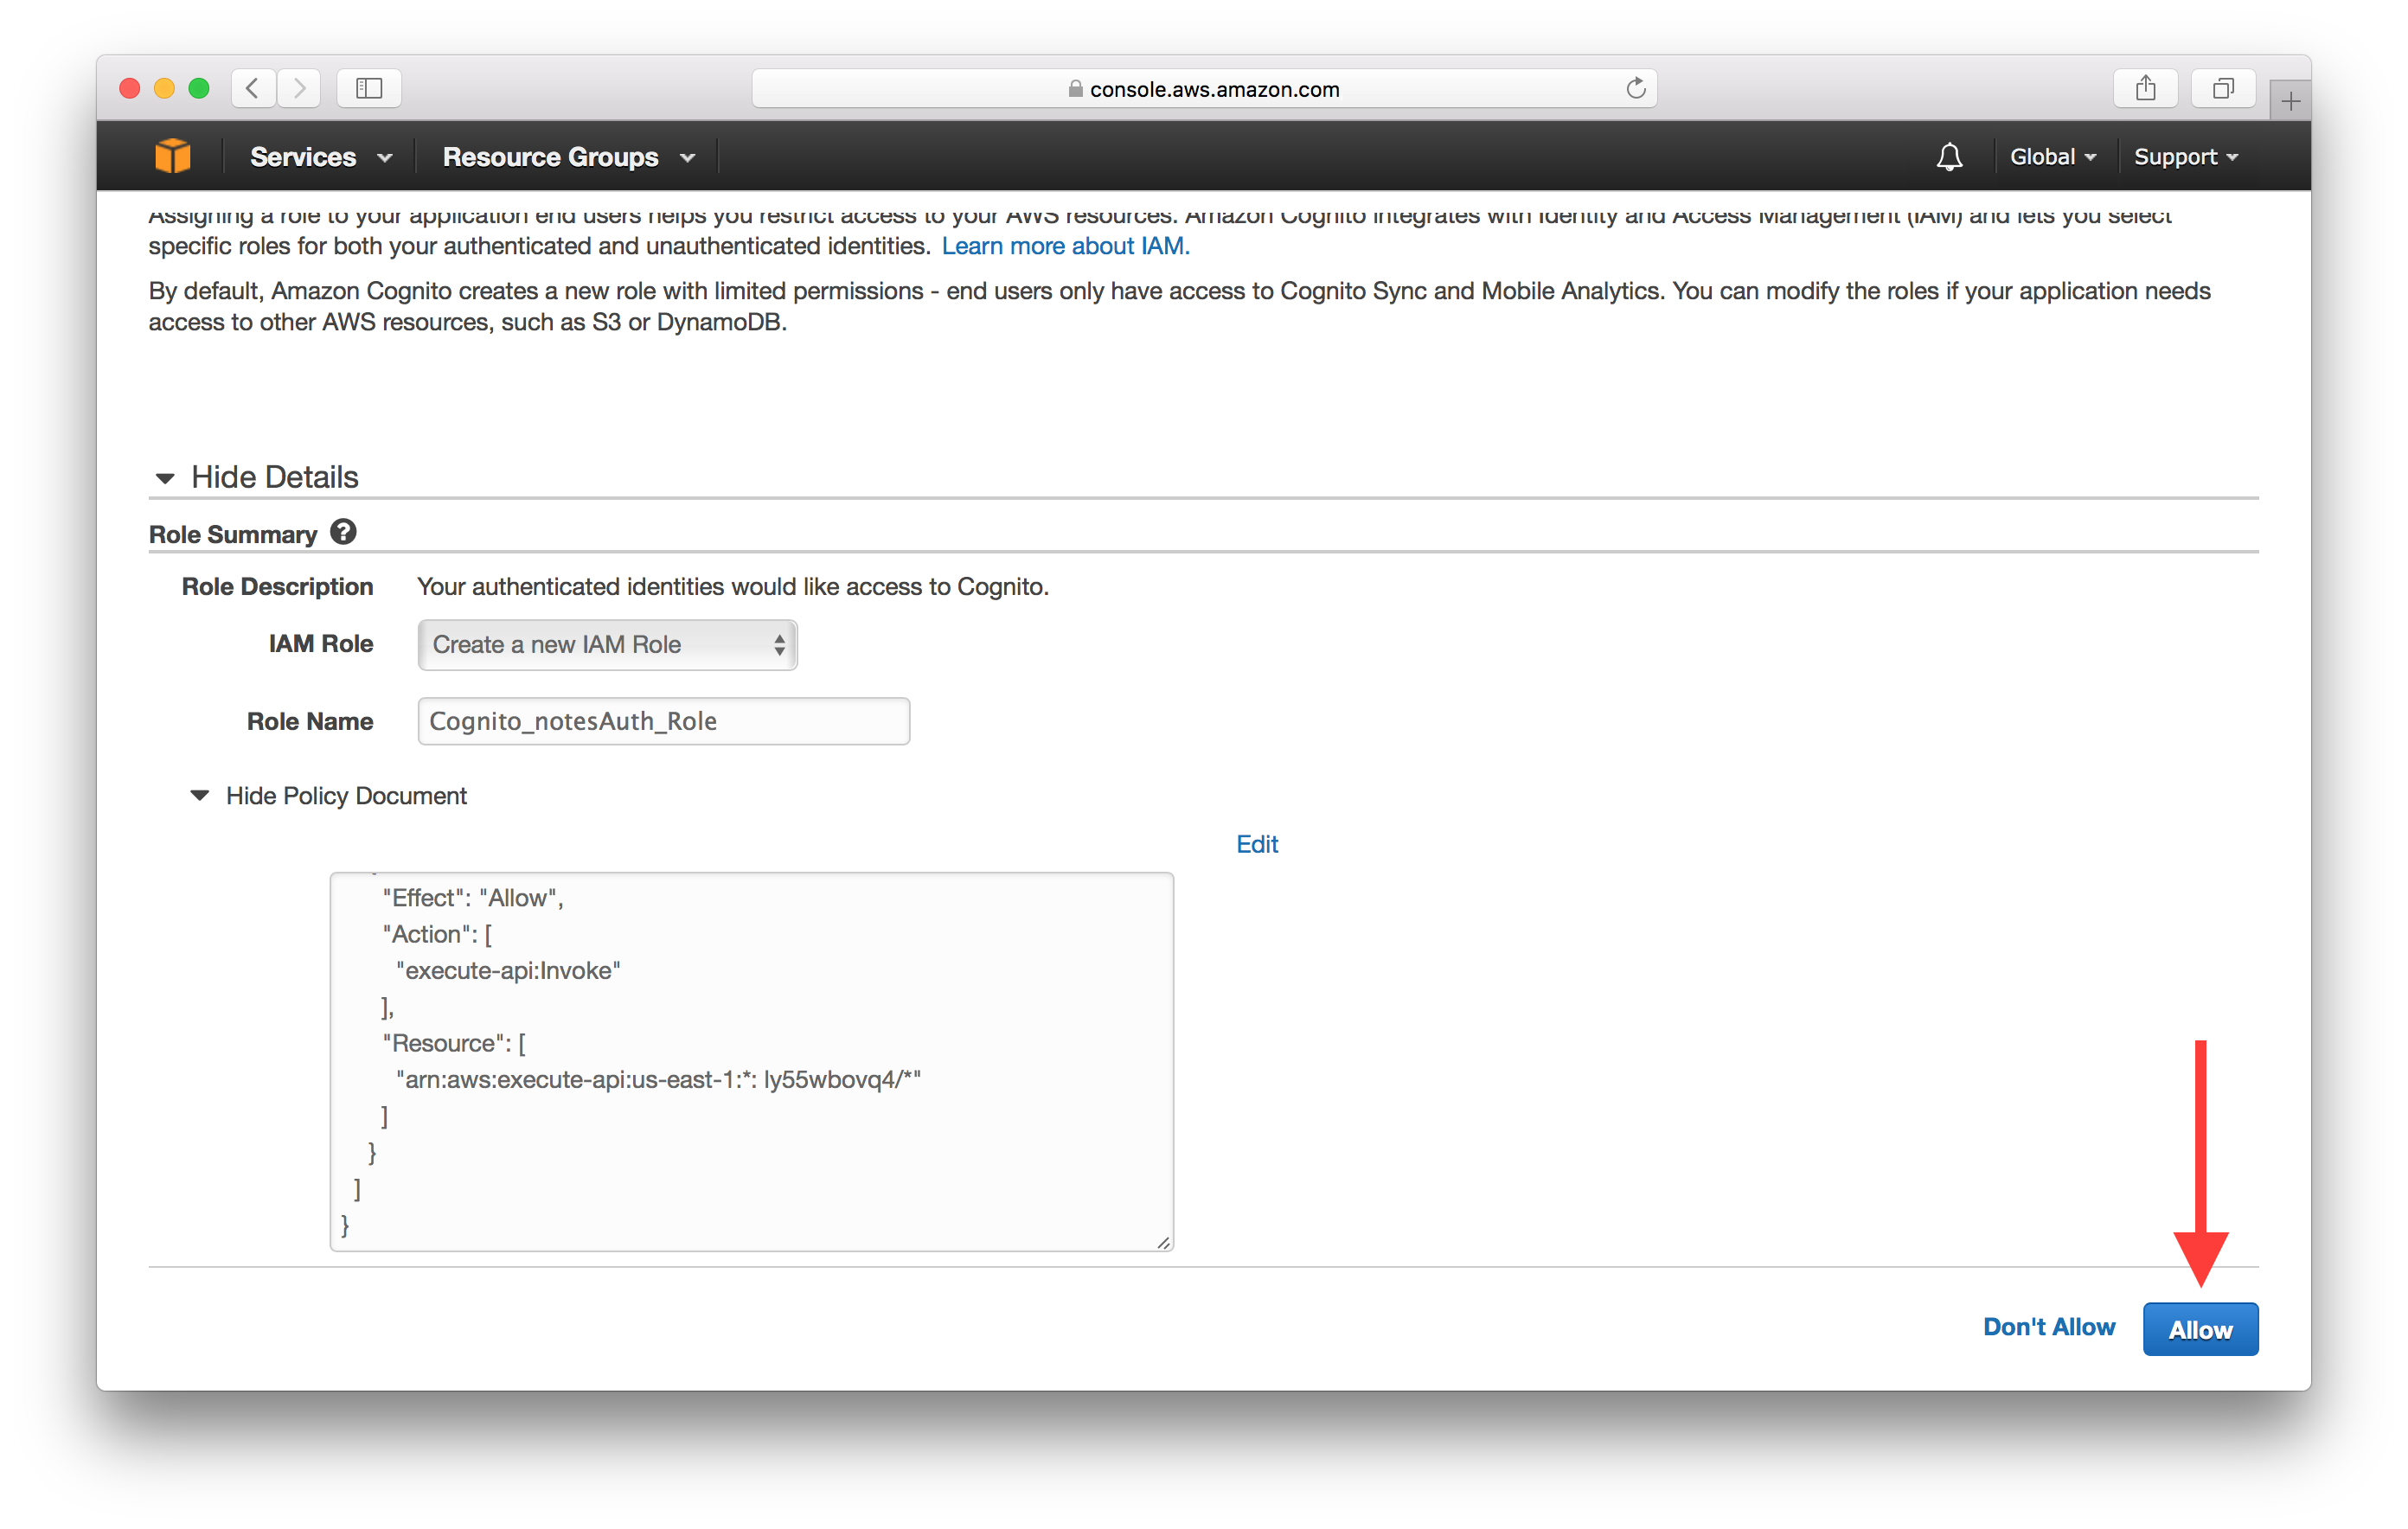
 Add the following policy into the editor. Replace
 YOUR_S3_UPLOADS_BUCKET_NAME with the bucket name from the Create an S3 bucket for file uploads chapter. And replace the YOUR_API_GATEWAY_REGION and YOUR_API_GATEWAY_ID with the ones that you got back in the Deploy the APIs chapter.
In our case YOUR_S3_UPLOADS_BUCKET_NAME is notes-app-uploads, YOUR_API_GATEWAY_ID is ly55wbovq4, and YOUR_API_GATEWAY_REGION is us-east-1.
{
  "Version": "2012-10-17",
  "Statement": [
    {
      "Effect": "Allow",
      "Action": [
        "mobileanalytics:PutEvents",
        "cognito-sync:*",
        "cognito-identity:*"
      ],
      "Resource": [
        "*"
      ]
    },
    {
      "Effect": "Allow",
      "Action": [
        "s3:*"
      ],
      "Resource": [
        "arn:aws:s3:::YOUR_S3_UPLOADS_BUCKET_NAME/private/${cognito-identity.amazonaws.com:sub}/*"
      ]
    },
    {
      "Effect": "Allow",
      "Action": [
        "execute-api:Invoke"
      ],
      "Resource": [
        "arn:aws:execute-api:YOUR_API_GATEWAY_REGION:*:YOUR_API_GATEWAY_ID/*/*/*"
      ]
    }
  ]
}
Once a user has been authenticated with our User Pool and verified with our Identity Pool, he/she is assigned this IAM role. This role limits what our user has access to in our AWS account.
A quick note on the block that relates to the S3 Bucket. In the above policy we are granting our logged in users access to the path private/${cognito-identity.amazonaws.com:sub}/. Where cognito-identity.amazonaws.com:sub is the authenticated user’s federated identity ID (their user id). So a user has access to only their folder within the bucket. This is how we are securing the uploads for each user.
So in summary we are telling AWS that an authenticated user has access to two resources.
- Files in the S3 bucket that are inside a folder with their federated identity id as the name of the folder.
- And, the APIs we deployed using API Gateway.
One other thing to note is that the federated identity id is a UUID that is assigned by our Identity Pool. This id is different from the one that a user is assigned in a User Pool. This is because you can have multiple authentication providers. The Identity Pool federates these identities and gives each user a unique id.
Next, select Allow.
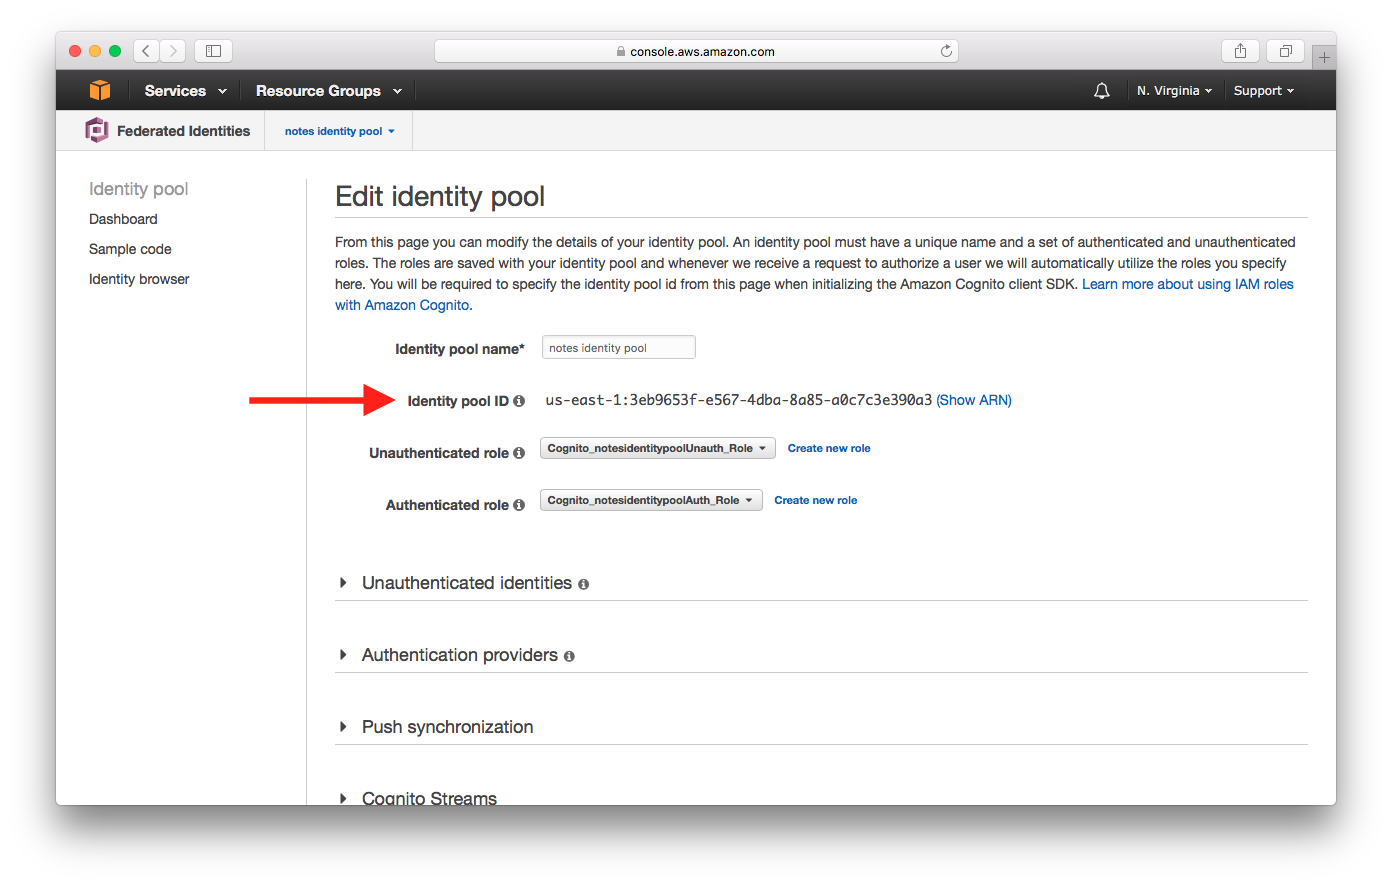
Our Cognito Identity Pool should now be created. Let’s find out the Identity Pool ID.
Select Dashboard from the left panel, then select Edit identity pool.

Take a note of the Identity pool ID which will be required in the later chapters.
Now we are ready to use what we’ve created so far to secure access to our APIs.
For help and discussion
Comments on this chapter